
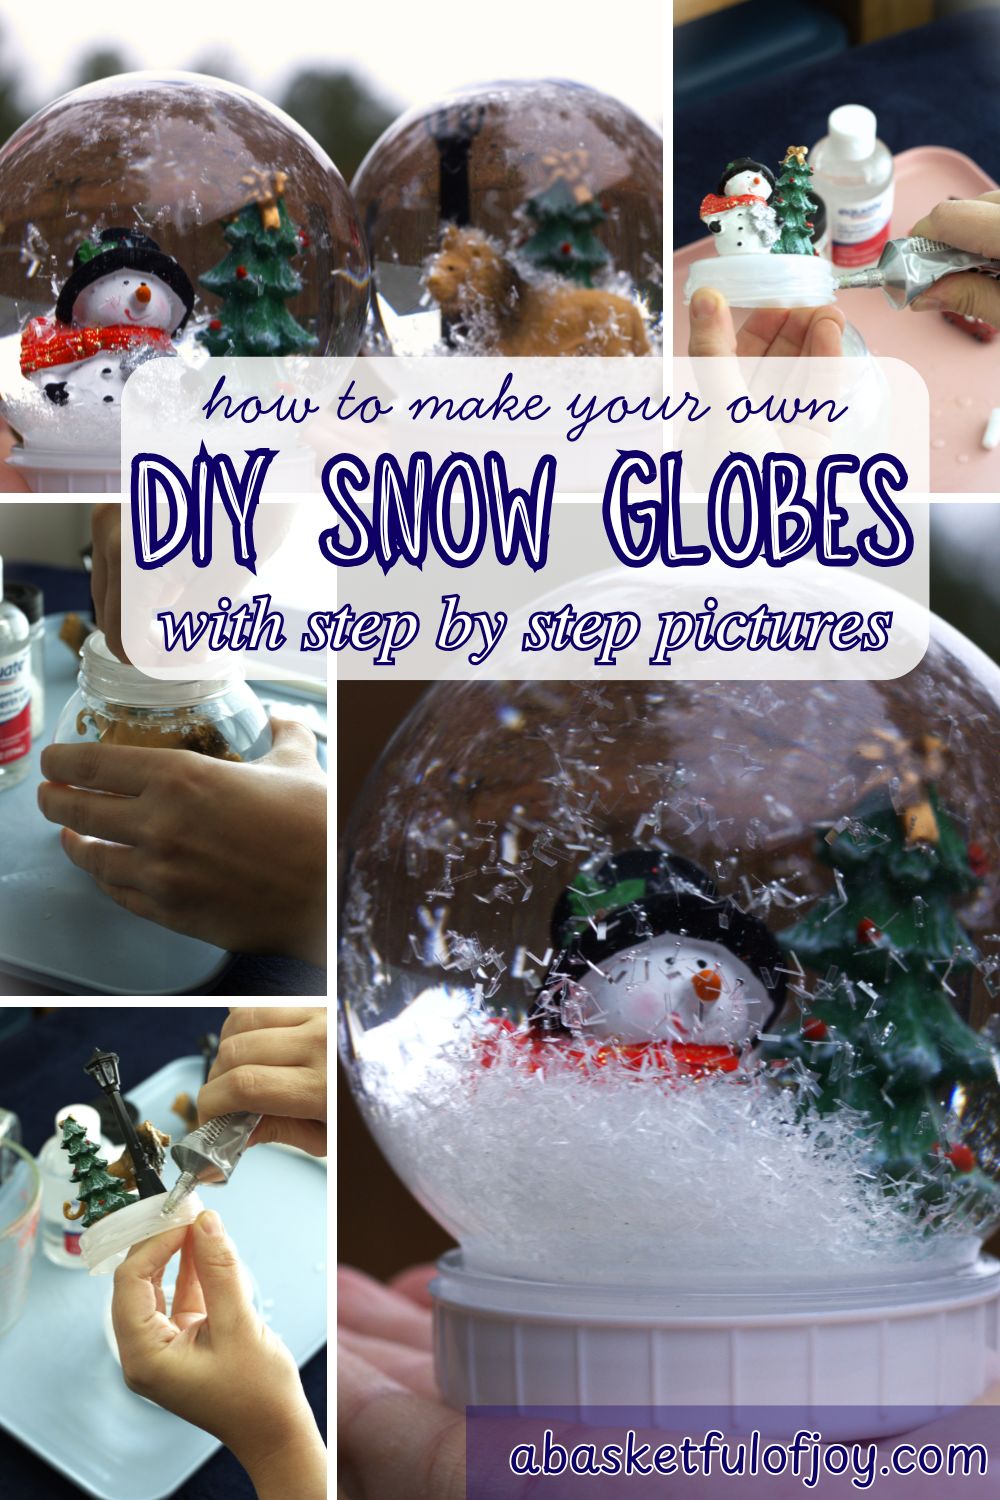
Easy DIY Snow Globes – A Christmas Craft
A step-by-step guide to making your own Christmas and Narnia themed snow globes.
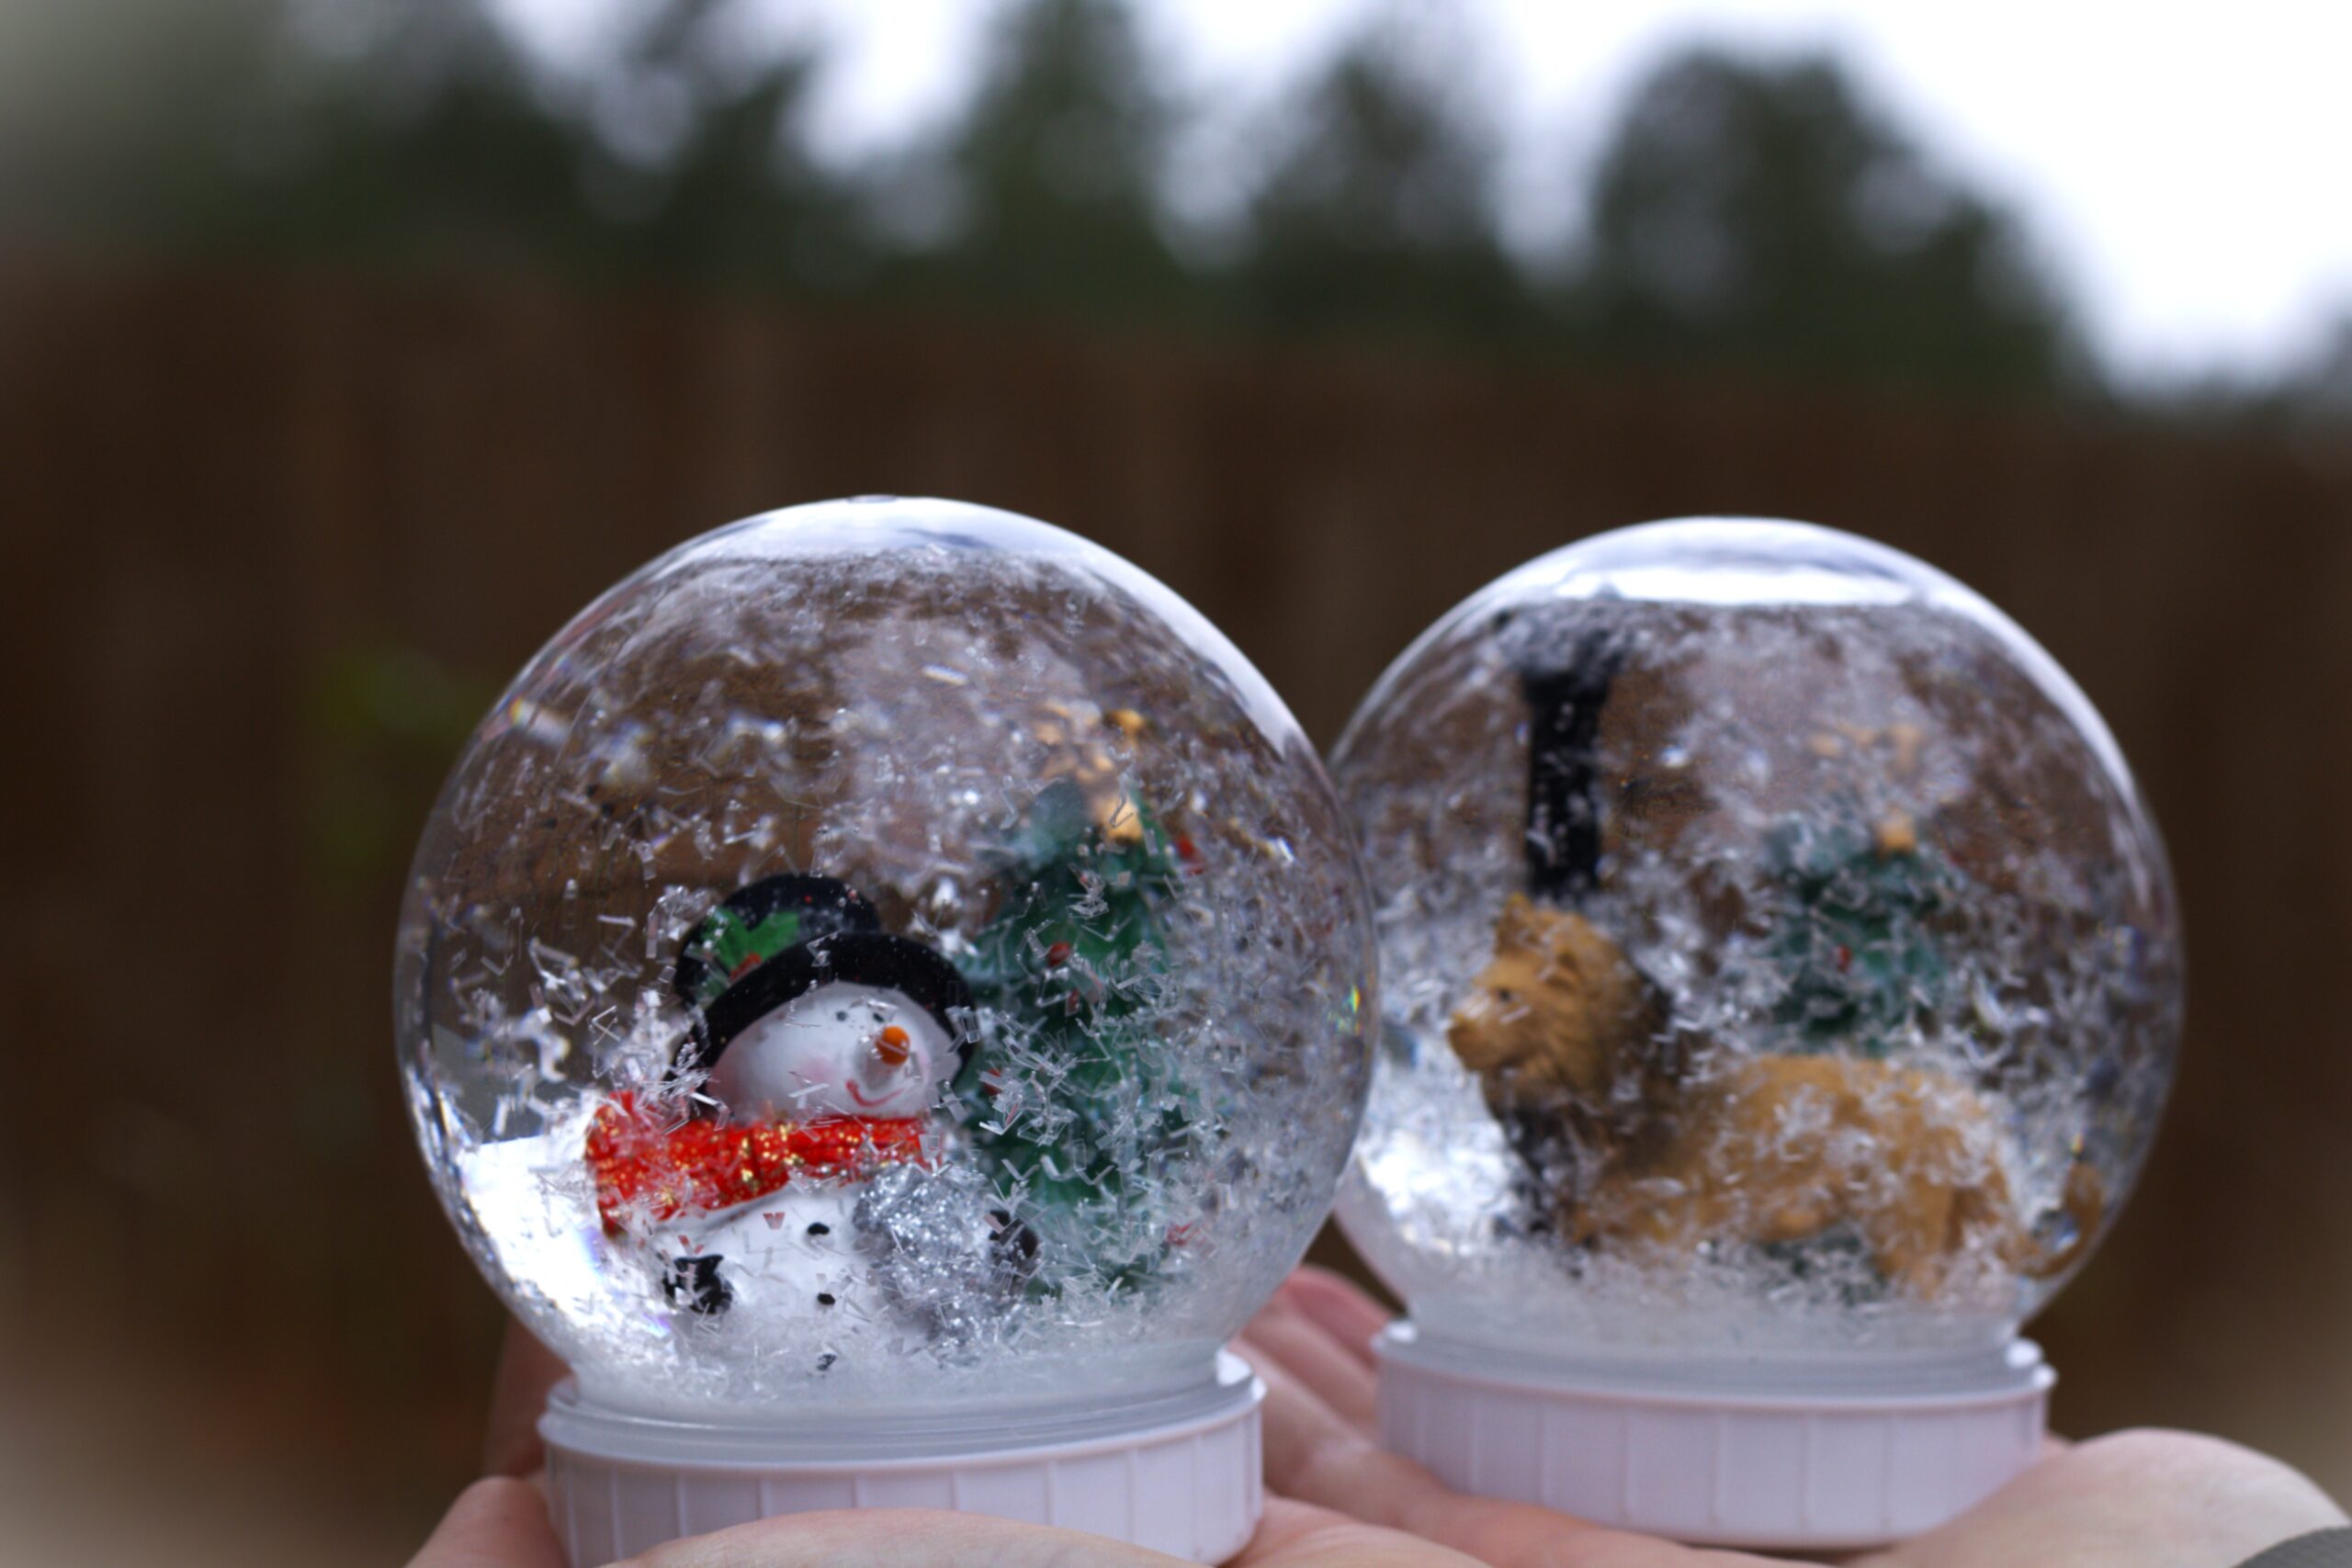
I love making projects and doing crafts with my nanny kids. One of my absolute favorite Christmas projects are these wonderful DIY snow globes! They are so easy to make and so special for kids. A few years ago I made these with a special little boy for his homeschool community Christmas market. And he sold out! Everyone loved them so much and he had a lot of fun making them. I was so happy that I had found a craft that he was very involved in creating with me. We still talk about them to this day as they were such a favorite. They even asked if we could make a few more as gifts this season and I was all for it.
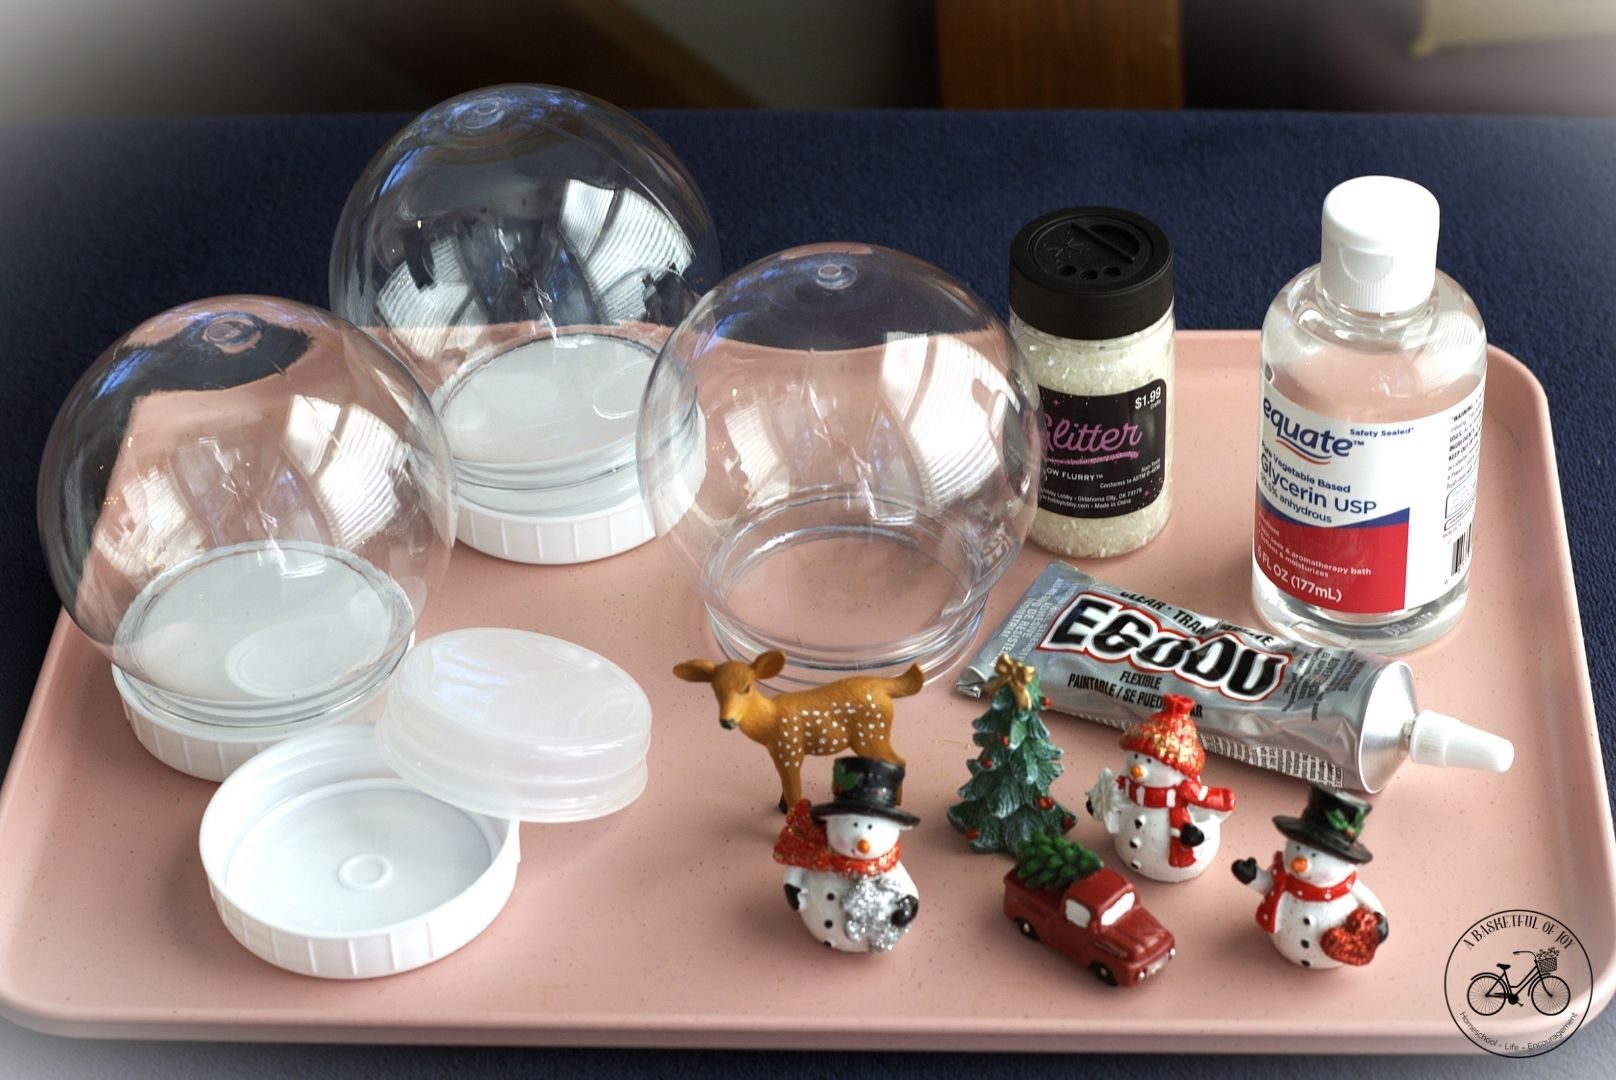
I found these wonderful plastic snow globes from the Dollar Tree. They are normally easy to find right at the beginning of the holiday season. I have also found them at Hobby Lobby which is where I got all the little figurines as well. You can get all sorts of cute little figures at Hobby Lobby like these snowmen, some silly reindeer, and trees or gingerbread men as well. You could even use these little plastic toys to make wonderful themed snow globes.
Keep reading to see how I made a The Lion, the Witch, and the Wardrobe snow globe perfect for all Narnia fans!
*If you are making these for an event or for gifts, keep in mind that you will need to start on them a week ahead of time because there are multiple stages of glue to dry before the snow globe is finished.
Supplies:
Assembly:
Step 1: Planning & Preparing

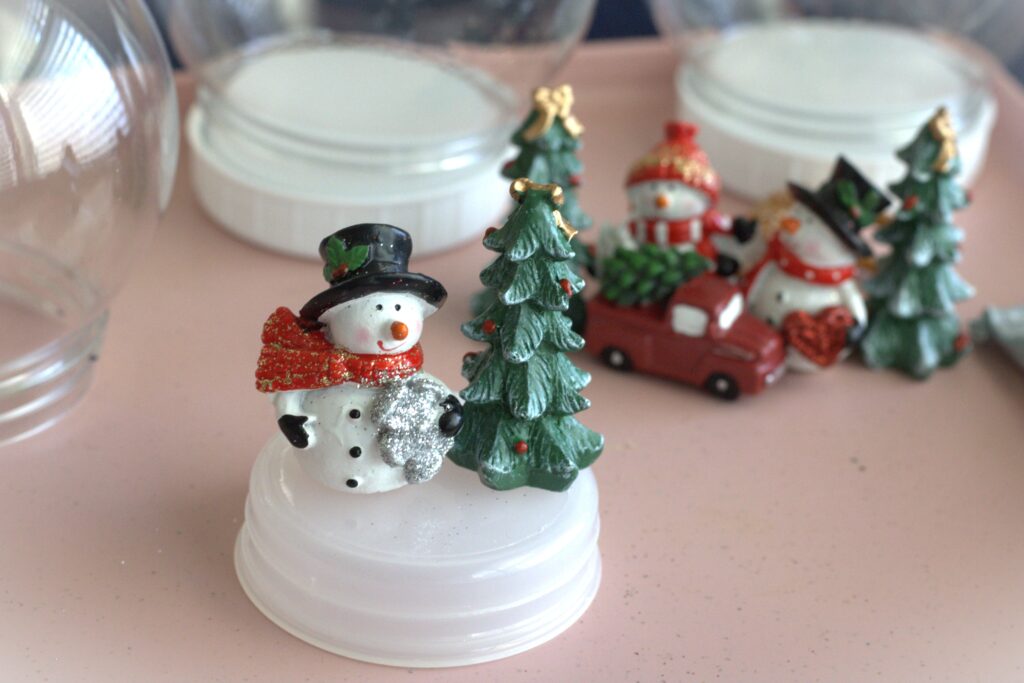
Layout all your supplies, take apart your snow globes, and plan how you want them to look. Put everything on a tray or cookie sheet to keep it all together. Make sure that the figurines will fit when the base is fully inserted in your snow globe. I usually do this by putting a little tape on the figure or toy, setting it on the base, and then putting the base back into the globe. Make sure they aren’t too tall or too wide!
Step 2: Sanding


Take your sandpaper and rough up the bottom of your little figurines and the base where you will glue them. I found that this helps to keep them from sliding around when they are glued to the base of your globes. Wipe off any excess dust before moving to the next step of gluing.
*Make sure to only use waterproof figurines and trees!
Step 3: Gluing

Take the base insert out of your snow globe and glue the bottoms of your figurines to it with super glue. (Adult supervision required! I wouldn’t let the kids do the gluing as it can get on their fingers.) Others have had success with hot glue but I like to use super glue as I know it will last in the water.
Then set aside carefully to dry. Make sure to put these up high and away from children at this time so they can dry in the right place. Wait at least 24-48 hours or as long as the glue says for maximum bonding.
Step 4: Putting them together


Now for the best part!
Carefully fill your globes with water but leave a little bit of room so you can insert the base and not have it overflow or touch the edges. A good rule is have the water just come up to the bottom of your figurine. For these size snow globes I have found it is about 2 cups of water. Test it out by lowering your base into the globe and seeing if it overflows. If it does, just pour a little water out at a time until you get the right amount.
Use a muffin tin to keep your globes upside down as you fill them and as they dry. This half dozen muffin tin worked perfectly for these snow globes, but a one dozen could also work. *Then squeeze about 2 tsp of vegetable glycerin in your globe of water. Sprinkle in your desired amount of glitter or snow and stir with a spoon.
As you carefully lower the base with your figures into your globe, make sure the seam of the plastic globe doesn’t interfere with the front of your miniature scene. Then squeeze a tiny bit of super glue around the edges of the base and tighten it into your globe. You could use gloves to keep your fingers from getting glue on them. Wipe off any excess and then set these up high to dry for another day or two. Do not turn them over yet or the glue won’t set and you might have leaks!
*The vegetable glycerin helps make the water thicker so your snow floats longer.
*I also have learned that sometimes the fake snow sold near the snow globe sections in craft stores can clump, so I have experimented and found that this tinsel glitter from Hobby Lobby works great for these snow globes. You can experiment with your own snow or glitter, just make sure it isn’t the foam kind for water-less snow globes!
Step 5: Finishing touches
The last step! Make sure the glue is dry and then screw the lids on. If you don’t want the kids to unscrew these lids, I suggest gluing them down as well.
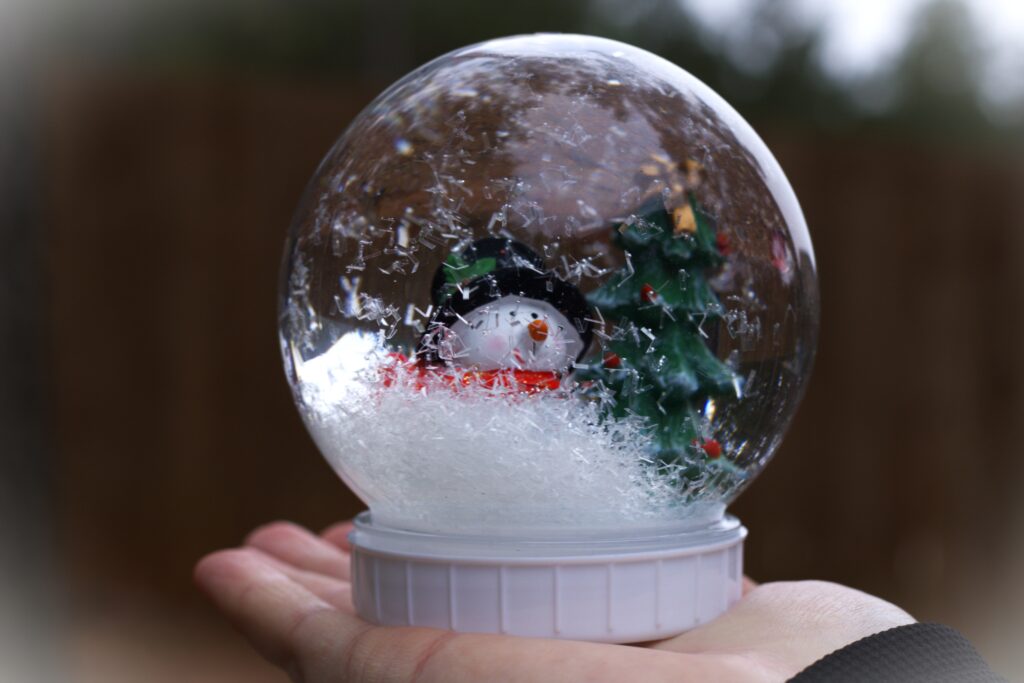
Shake your snow globes to see how they look! Now you can add ribbons to the base to make it more festive before giving them as gifts or decorating your house!
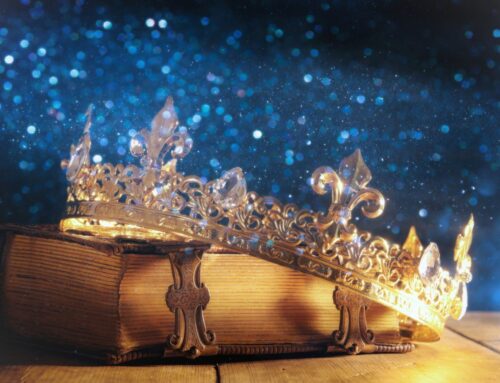
Creating A Narnia Snow Globe

If your kids love The Chronicles of Narnia then this Lion, the Witch, and the Wardrobe snow globe is perfect for them to create!
I got these plastic lamp post off amazon. They were a little too tall, so I sanded down the bottom a little.
I used these trees from Hobby Lobby and the little lion in this safari pack of animals for Aslan!


Following the steps above, plan how everything will fit on your snow globe base. Make sure Aslan’s tail will fit in the globe and the lamp post isn’t too tall. Sand the base of the snow globe and the bottom of the figures, then glue them down. Wait 24-48 hours for them to dry, add water, glycerin, and snow and then stir. Then put the figures into the water and glue the bases on to seal them. Let your globe dry for another 24-48 hours before you screw the lids on and enjoy the magic!
I love these snow globes so much. They turned out amazing and are so magical for all fans of Narnia!
")
These snow globes are some of my absolute favorite crafts I have made. You can make them Christmas themed or for any birthday theme as well. I just love how these turned out and how much the kids love them. I used to collect snow globes growing up and the magic of them and their miniature world has always fascinated me! I hope you enjoy making these as well!